Automatically Backup to Google Drive or Microsoft One Drive
Managing lecture recording and files on a PC is tiring if you do not have correct tools installed. Below guide will help you to efficiently manage your recordings and backup them automatically to your Google Drive or Microsoft One Drive storage.
Please note that automated backup will consume your internet data bundle if you backup huge files daily (Ex: 2 hours of zoom lecture recording would be approximately 300 MB)
Backup to Google Drive
This guide is only valid for Windows 10.
Please follow the below steps to install and upload your files to Google Drive.
1. Download and install Google Drive Back up and Sync. Use the below button to download.
2. Read the Terms of Service and click Agree and download.
3. After it’s downloaded, open installbackupandsync.exe.
4. If you see a window asking if you want to allow the program to make changes on your computer, click Yes.
5. If you’re asked to restart your computer, do it now.
6. Once the computer is restarted, Open Backup and Sync software that you installed.
7. Sign in with your USJP Google Account username and password.
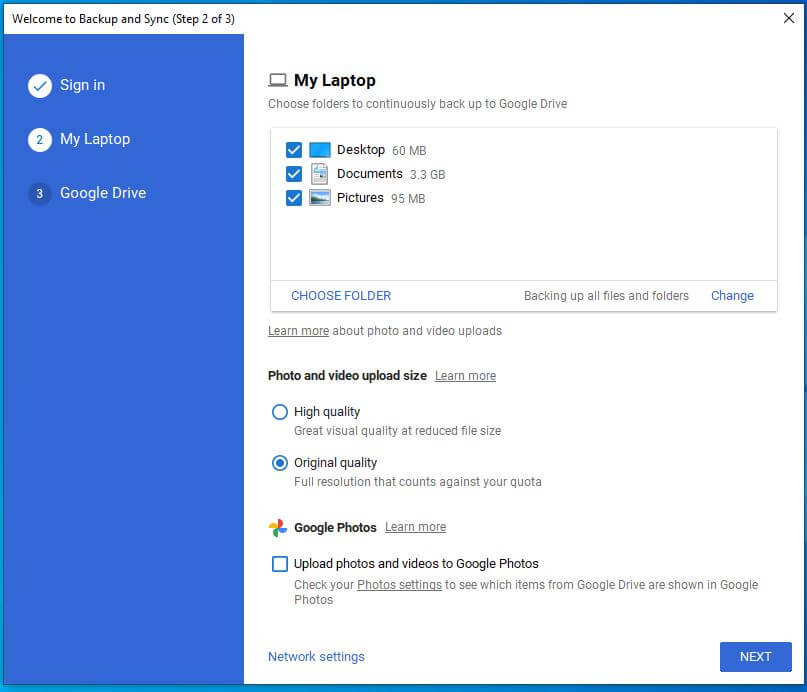
8. After Sign in successfully, you should select which folders that you need to Sync with Google Drive.
Using "Choose Folder" option, you can select your Zoom recording folder as well.
Once it is selected, in the Window, you can see which folders are selected. If you need to remove a folder from backing up to Google Drive, you may uncheck that.
Then click on Next button.
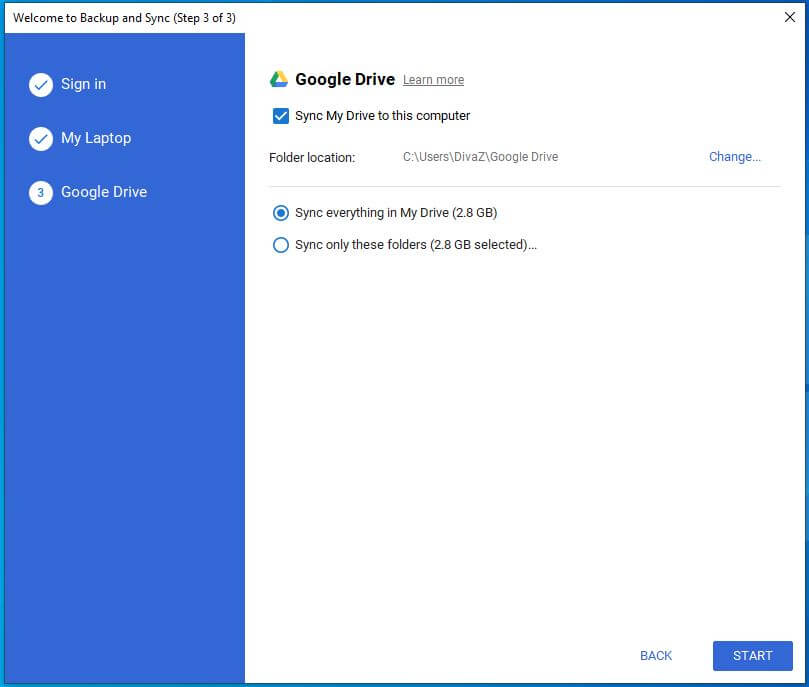
9. In this final step, it asks whether you need to backup the Google Drive folder to your computer. If you do not need that, you can uncheck "Sync My Drive to this computer" and press START.